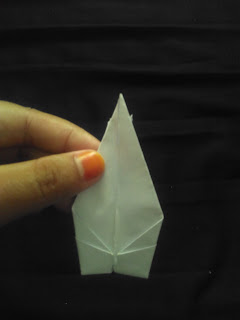
TUTORIAL : How to make a paper bird
Assalamualaikum...
This time I will give you a little
way of making paper birds. Just go ahead, here are the steps:
- Prepare a square sheet of paper.
- Fold the paper into triangular shape, then repeat on the other side.
- Return the original shape paper. And if opened the paper already has the pattern of the line.
Then fold the paper as shown below:
Perform the folds in each corner.
- If the third stage is done, then when the paper is reopened it will have more patterns. The pattern will help for the next steps.
- Then a little bud each corner, like the following picture.
- Next combine each corner (4 sides of paper), as follows:
- Fold the top edge down, then flip it over. Do also on the reverse side. Like the following picture:
- Fold the paper into something like this: Make sure the part that divides is above, then fold the right and left sides of the paper to the middle, do also on the opposite side (back).
- Fold and make the visible side (in step 8) closed by dragging the left and the center. Do also on the opposite side, it will look like this side:
- Rotate the paper 180 ° (swap the position between top & bottom), then fold the bottom end. Separate the newly folded section (this will be the head and tail of the bird) with the top edge of the split paper (into wings). Do also on the reverse side.
- Swap the visible side.
- Drag both ends of the top, slowly to open the shape of the wings, and the body of the bird. Just slow down so that the paper does not tear.
- The shape of the head and the beak of the bird by bending down one of the pointed ends. And be the "birds" of paper.
Not difficult? If you want more
birds to attract dye spray or if you do not want to bother just use origami
paper and combine 3 to 5 birds using threads. After that hang the bird in the
bedroom (according to taste). Then your bedroom will be a little more
attractive.
Thank you and hopefully useful ..
Wassalamualaikum...


Komentar
Posting Komentar